Curing plastisol with a flash dryer looks straightforward: position the heat source, wait, move on. But results vary considerably depending on dryer setup, room conditions, platen prep, and technique. Undercured prints wash out after two or three cycles. Overcured or improperly gelled ink in multi-color jobs won't bond with the next layer. Neither is acceptable in production.
This guide covers everything you need to get consistent, wash-proof cures using a flash dryer — the right equipment, the step-by-step process, the variables that matter, and the mistakes that cause failed cures.
Key Takeaways
- Plastisol ink must reach 300–330°F through the full ink layer, not just the surface, to bond permanently to fabric
- A flash dryer can fully cure plastisol with the right setup: correct height, pre-warmed platens, no airflow, and a temp-measuring tool
- Always lift the shirt off the platen before full curing so heat penetrates from above
- Verify cures with a stretch test and wash test before any production run
- Flash dryers are best suited for small runs and single-color jobs; conveyor dryers are the standard for high-volume work
What You Need Before You Start
Preparation determines consistency. Skipping setup steps produces unpredictable results across garments, regardless of how solid your technique is.
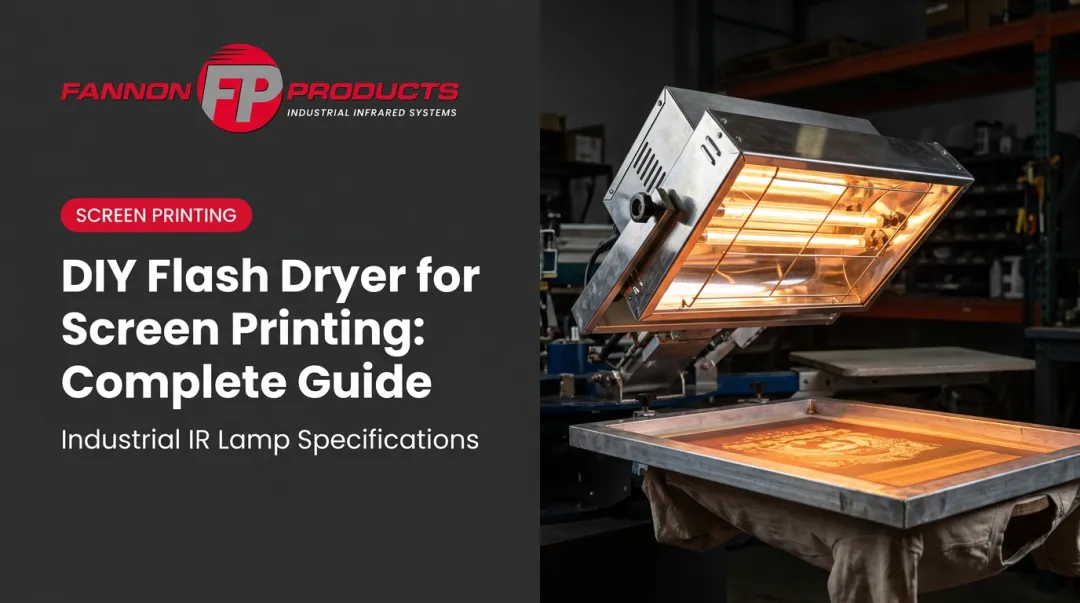
Flash Dryer and Lamp Specifications
The infrared lamp is the core of any flash dryer. Its wattage and lamp type determine how quickly and evenly it heats the ink layer. For most standard print sizes, a 16×16 or 18×18 flash head covers the print area adequately.
Oversized designs need a larger unit. An undersized head delivers weaker heat to the print edges, causing inconsistent cures across the same garment.
Lamp condition matters. An aging or degraded lamp produces uneven heat output without any visible warning sign — cures that worked last month start failing the wash test. Fannon Products manufactures direct-fit replacement infrared lamps for M&R flash dryers in 11 configurations ranging from 1,000W to 2,000W, with voltage options at 208V, 240V, and 480V. Their medium-wave star coil lamps heat up in under one second and carry a 5,000+ hour rating, keeping your flash performing at spec rather than quietly drifting out of range.
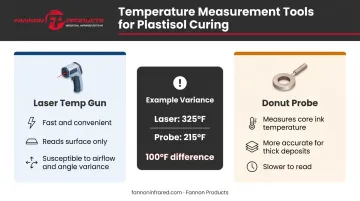
Two temperature measurement tools you'll need:
- Laser (infrared) temp gun — fast, convenient, reads surface temperature; prone to variance from air movement and lamp angle
- Donut probe — makes contact inside the ink layer for a more accurate core reading; one ScreenPrinting.com test found a laser gun reading 325°F while the donut probe showed the ink at only 215°F
One of these tools is non-negotiable. Curing by time alone is guessing.
Environment and Platen Prep
Two environmental factors control whether heat reaches the ink consistently:
- Room temperature: Keep the shop between 70–80°F. Cold environments pull heat away from the cure zone
- Airflow: Shut off fans, close doors and windows. Even a nearby HVAC vent mid-cure can drop surface temperature enough to create undercured spots — with no visible sign until the wash test
For platens, aluminum retains heat better than wood and won't warp under repeated exposure. Pre-warming your platens before loading garments prevents heat from sinking into a cold surface before reaching the ink.
How to Cure Plastisol Ink with a Flash Dryer
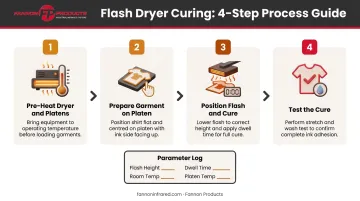
Step 1: Pre-Heat the Flash Dryer and Platens
Allow 10–15 minutes of warm-up time before curing any garments. A flash dryer started cold produces inconsistent heat output because the element hasn't stabilized. The first several shirts you run are at real risk of undercure, even if your timer and distance are correct.
Pre-warm platens at the same time. Hover the flash briefly over an empty platen to bring it up to temperature. When a cold platen sits under the garment, it absorbs heat from below and competes with the heat coming from above, extending the time needed for the ink's base layer to reach cure temperature.
Step 2: Prepare the Garment on the Platen
This step trips up more printers than any other part of the process.
For full curing, the shirt must be lifted off the platen surface and laid on top of itThis guide covers full curing. With garment prep confirmed, positioning the flash head correctly is what determines whether the ink hits cure temperature throughout the entire deposit.
Step 3: Position the Flash and Cure
Position the flash head 2–3 inches above the platen surface. That distance is the standard starting point, but it involves a real trade-off: closer means more intense heat but higher scorch risk; farther means more diffuse heat and a longer cure time with potential undercure at print edges.
Infrared energy disperses with distance, and moving the head even half an inch from your tested position affects heat delivery at the substrate.
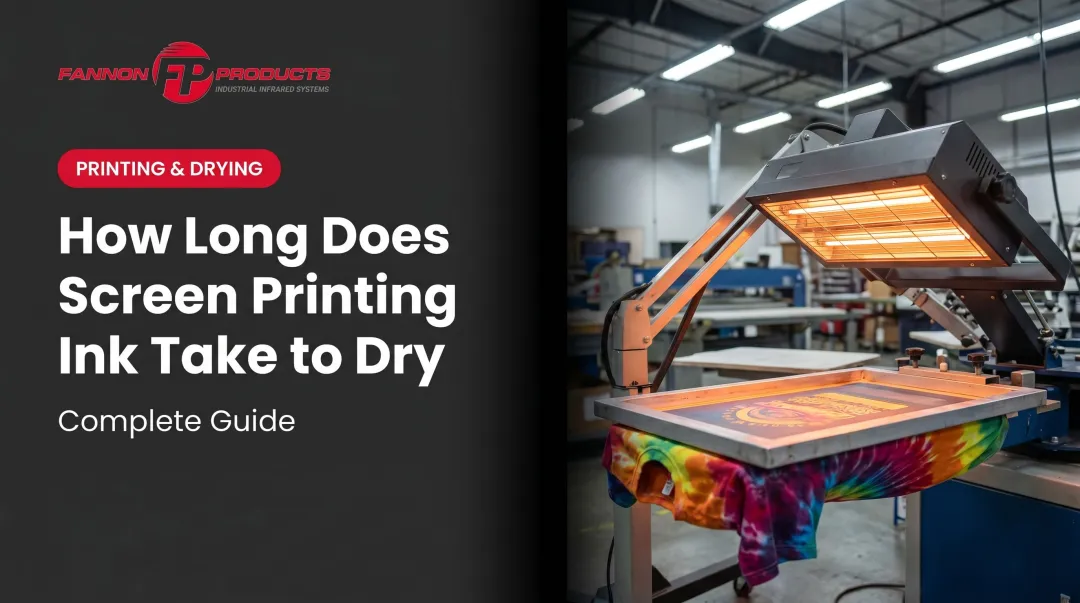
Typical cure time is 30–40 seconds once the flash is fully pre-heated. The exact time depends on:
- Flash wattage and distance from the substrate
- Ink deposit thickness
- Fabric weight and color
Use a temp gun to confirm the ink surface reaches 330–340°F during the cure. Don't move the garment during this window, and keep airflow around the flash minimal.
Step 4: Test the Cure Before Running Production
Never skip this step before a production run.
Stretch test:
- Let the printed garment cool completely
- Stretch the printed area firmly
- Fully cured ink stretches with the fabric and recovers; undercured ink cracks, flakes, or separates
Wash test:
- Run 3–5 full wash cycles
- Inspect for fading, peeling, or ink loss
Once you confirm a good cure, log these parameters and use them exactly for every garment in the run:
- Flash height
- Dwell time
- Room temperature
- Platen temperature
Key Parameters That Affect Curing Results
Flash dryer curing involves a controlled interaction between variables. Knowing how each one behaves is what separates consistent results from a production run full of rejects.
Temperature: Surface vs. Core
According to International Coatings, the entire ink film must reach cure temperature — not just the top surface. Standard plastisol requires a minimum of 320°F through the full deposit to achieve a permanent bond.
Ink that reaches cure temperature at the surface but not through the base layer looks cured. It passes the stretch test. Then it fails after the second wash. This is where a donut probe earns its price — for thick ink deposits, a laser gun surface reading simply isn't reliable enough.
Flash Height and Distance
The 2–3 inch standard is a starting point, not a guarantee. Test your specific unit to find its optimal distance. The practical failure modes on either end:
- Too close: Scorches fabric or burns the ink surface
- Too far: Extends cure time; edges of the print receive weaker heat and may undercure
Fabric Type and Ink Deposit Thickness
These two factors change cure requirements more than any other variable:
- Heavyweight cotton (hoodies, thick blanks) absorbs more heat and requires longer dwell time
- Polyester and poly-blend fabrics are heat-sensitive — standard plastisol cure temps can cause dye migration or shrinkage; low-cure plastisol formulas (curing as low as 250–275°F) are the better choice for these substrates
- Thick ink deposits (heavy underbases, multiple-pass builds) need more time for heat to reach the bottom of the layer
A single cure time setting applied to every garment type will produce undercures on heavy fabrics and damage on heat-sensitive synthetics.
Airflow in the Curing Environment
Flash dryers have no enclosed chamber, so ambient airflow hits the ink surface directly and disrupts heat consistency. A door opening mid-cure, an HVAC vent cycling on, a nearby box fan, or even a passing forklift — any of these can drop surface temperature enough to create undercured zones with no visible indicator. The first sign is the wash test failing.
Controlling airflow around the flash unit is a process requirement, not an afterthought.
Common Mistakes When Curing Plastisol Ink with a Flash Dryer
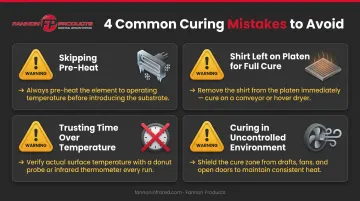
Most curing failures trace back to one of four mistakes. Each one is avoidable once you know what to look for.
Skipping pre-heat. A cold or partially warmed element hasn't stabilized, so the ink never reaches full cure temperature — even if your timer says it should. Pre-heat every time, no exceptions.
Leaving the shirt on the platen for full cure. Staying on the platen is correct when flashing between layers. For full curing, it's wrong. The platen pulls heat away from the bottom of the ink deposit before it gets there.
Trusting time over temperature. "30 seconds = done" isn't a curing standard. Wattage, distance, room temperature, and platen heat all affect how much energy actually reaches the ink. Verify with a temp gun or donut probe whenever any variable changes.
Curing in an uncontrolled environment. This one's silent — there's no visible sign that airflow disrupted the cure while it was happening. You find out when the wash test fails. Environmental control matters as much as your time and temperature settings.
When a Flash Dryer Isn't the Best Curing Method
Flash dryers are the right tool for small-batch runs, single-color jobs, and shops without space or budget for a conveyor dryer. But the method has real limitations.
High-Volume and Multi-Color Production
Curing shirt-by-shirt under a flash dryer is slow. Human variability — flash height drift, timing inconsistency, airflow changes — compounds across hundreds of garments. Conveyor dryers maintain constant, calibrated heat in an enclosed environment, moving garments through a defined cure zone at a set speed.
At scale, those variables matter. Production shops that depend on flash curing alone will see consistency suffer before volume does.
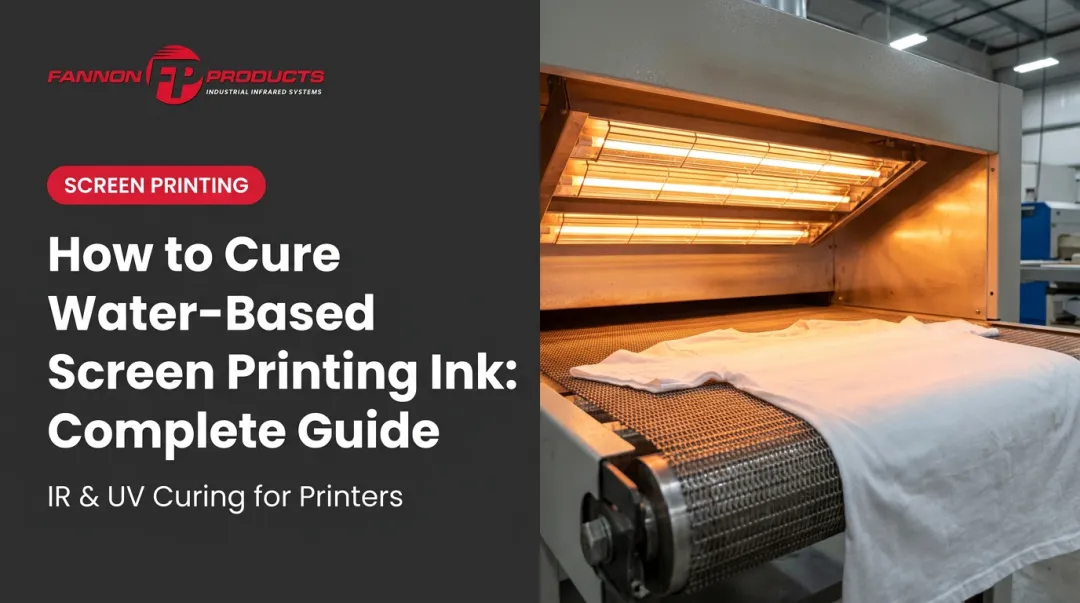
Discharge and Water-Based Inks
Infrared flash dryers aren't designed for discharge or water-based inks. Each has specific requirements that a standard flash unit can't reliably meet:
- Discharge inks rely on a chemical activation process that demands precise cure handling — flash exposure alone doesn't provide the controlled environment that process requires
- Water-based inks need moisture fully evaporated before the binder and pigment can bond, typically requiring 300–320°F held for 2–3 minutes — better suited to a conveyor dryer
- Forced-air flash units can assist with water-based evaporation, but a standard infrared flash alone typically falls short
Plastisol is where infrared flash dryers perform best. The other ink types need equipment built around their specific cure chemistry.
Conclusion
Curing plastisol ink with a flash dryer produces professional, wash-proof results when the conditions are properly controlled. Pre-heated equipment, correct flash height, the garment lifted onto the platen, minimal airflow, and temperature verification are all non-negotiable parts of the process.
Most failed cures trace back to skipping one of those elements, usually pre-heat or the platen lift. Dial in your cure variables on a test garment, document what works, and apply those exact parameters to every shirt in the run. That consistency is what separates repeatable results from wasted inventory.
A flash dryer is a practical, space-efficient tool for small shops. Know its parameters, respect its limits, and it will hold up through long production runs without surprises.
Frequently Asked Questions
What are flash dryers unsuitable for when curing plastisol ink?
Flash dryers cannot cure discharge inks, which require a specific chemical activation process, and are not ideal for water-based inks without a forced-air flash unit or low-cure additive. They're also inefficient for high-volume production, where shirt-by-shirt curing is slower and less consistent than a conveyor dryer.
What temperature does plastisol ink need to reach to fully cure?
Standard plastisol ink requires the entire ink film to reach 300–330°F, with most formulas targeting 320°F. Always check the manufacturer's data sheet — low-cure plastisol formulas may cure at temperatures as low as 250–275°F, which matters for heat-sensitive fabrics.
How long should plastisol ink stay under a flash dryer to fully cure?
Full curing typically takes 30–40 seconds under a properly pre-heated flash dryer. Time alone isn't a reliable indicator — use a temp gun or donut probe to confirm the ink surface has reached the correct cure temperature before pulling the garment.
Why do I need to remove the shirt from the platen when curing with a flash dryer?
Lifting the shirt off the platen lets infrared heat penetrate the full ink layer from above. Left pressed against the platen, the platen absorbs heat from below and blocks the base of the ink deposit from reaching full cure temperature.
How do I test if my plastisol ink is fully cured?
Run two tests before production: stretch the cooled print to check for cracking or flaking, then run 3–5 wash cycles and inspect for fading or ink loss. Both confirm the ink film has fully bonded to the fabric.
Can I cure plastisol ink with a flash dryer if I don't have a temperature gun?
Technically possible, but not recommended. Without a temp reading, you're relying on timing alone, which varies with wattage, distance, and ambient conditions. A laser temp gun costs little and removes the guesswork that leads to prints failing in the wash.